

SLV Install - TiDB
SLV Install - TiDB
Why TiDB (MySQL Cluster)?
TiDB delivers a horizontally scalable, cloud-native HTAP database that speaks the MySQL protocol. Many managed database services meter every read and write, which quickly becomes cost-prohibitive for latency-critical Solana workloads. With
slv install, you can stand up your own distributed TiDB cluster, bypass provider rate limits, and keep throughput high without runaway billing surprises.Highlights
- TiDB: https://www.pingcap.com/tidb/
- MySQL-compatible wire protocol plus automatic sharding, so you keep familiar clients while gaining scale-out performance.
- Built-in TiUP management and TiDB Dashboard give you visibility into cluster health out of the box.
Run the Installer
Select TiDB from the component list after targeting the hosts that should run the cluster.
bash
$ slv install -i 1.1.1.1,
🚀 Installing software components...
? Select Software Component to Install (Redis)
  Redis
❯ TiDB (MySQL Cluster)
  Grafana
  Prometheus
  Node Exporter
  Kafka Cluster
$ slv install -i 1.1.1.1,
🚀 Installing software components...
? Select Software Component to Install (Redis)
Redis
❯ TiDB (MySQL Cluster)
Grafana
Prometheus
Node Exporter
Kafka ClusterNote: Replace1.1.1.1with the IP address of your own server.
Review the Details
Before Ansible starts,
slv shows the playbook path and inventory so you can double-check the cluster target. The CLI also reminds you that TiDB can take several minutes to provision depending on hardware.bash
🚀 Installing software components...
? Select Software Component to Install (Redis) › TiDB (MySQL Cluster)
✅ You selected: TiDB (MySQL Cluster)

📋 Installation Details:
Software: TiDB (MySQL Cluster)
Inventory: 1.1.1.1,
Playbook: /Users/fumi/.slv/template/0.9.800/ansible/cmn/software/install-tidb.yml
⚠️ a few minutes to 10 minutes may be required for TiDB installation depending on your server performance.
? Do you want to proceed with the installation? (y/N) ›
🚀 Installing software components...
? Select Software Component to Install (Redis) › TiDB (MySQL Cluster)
✅ You selected: TiDB (MySQL Cluster)
📋 Installation Details:
Software: TiDB (MySQL Cluster)
Inventory: 1.1.1.1,
Playbook: /Users/fumi/.slv/template/0.9.800/ansible/cmn/software/install-tidb.yml
⚠️ a few minutes to 10 minutes may be required for TiDB installation depending on your server performance.
? Do you want to proceed with the installation? (y/N) › Observe Ansible Execution
After confirmation,
slv hands control to Ansible, which builds out the TiDB components and supporting services on each host.bash
🚀 Running ansible: ansible-playbook -i 1.1.1.1, -u solv /Users/fumi/.slv/template/0.9.800/ansible/cmn/software/install-tidb.yml

PLAY [Install and configure TiDB cluster] ************************************************************

TASK [Gathering Facts] *******************************************************************************
🚀 Running ansible: ansible-playbook -i 1.1.1.1, -u solv /Users/fumi/.slv/template/0.9.800/ansible/cmn/software/install-tidb.yml
PLAY [Install and configure TiDB cluster] ************************************************************
TASK [Gathering Facts] *******************************************************************************Verify the Endpoints
When provisioning finishes, the CLI prints connection details so you can wire TiDB into your apps immediately and confirm the dashboard is reachable.
bash
✅ Installation completed successfully!

🌐 Access Information:

TiDB Endpoint: 1.1.1.1:4000 (MySQL Protocol)
Dashboard http://1.1.1.1:7301/dashboard/#/signin (HTTP Protocol)

🔑 Default credentials
Username: root
Password: <empty>
✅ Installation completed successfully!
🌐 Access Information:
TiDB Endpoint: 1.1.1.1:4000 (MySQL Protocol)
Dashboard http://1.1.1.1:7301/dashboard/#/signin (HTTP Protocol)
🔑 Default credentials
Username: root
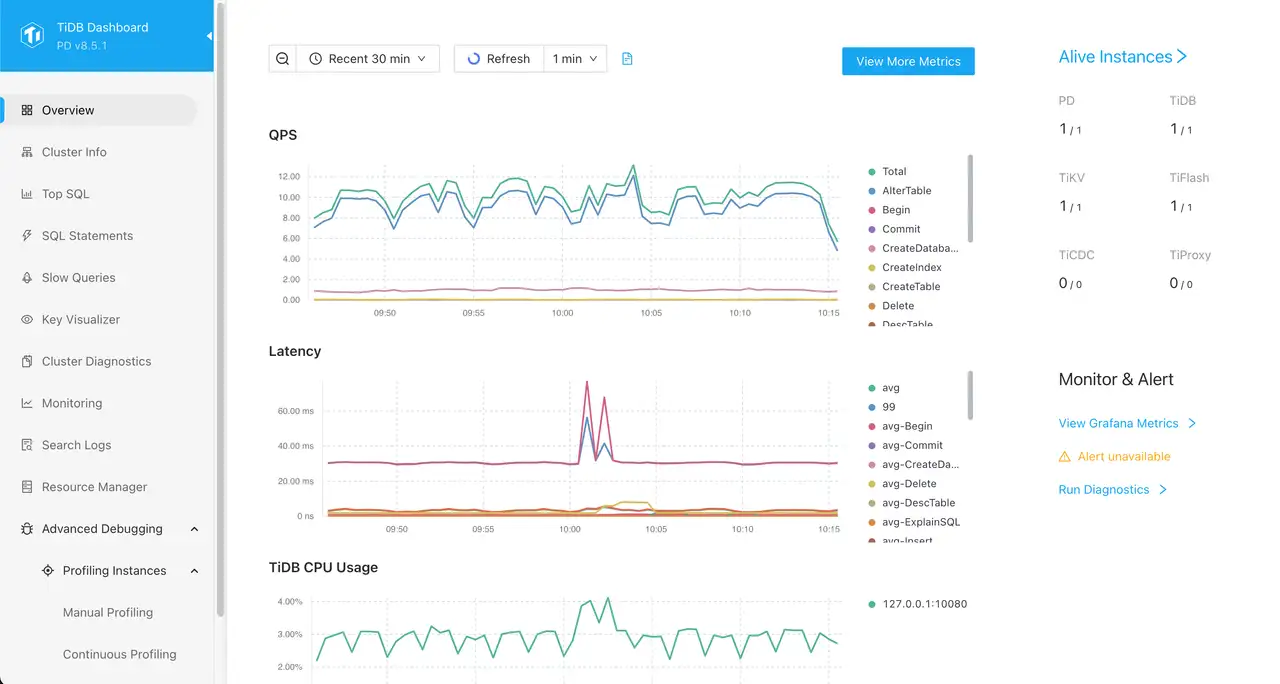
Password: <empty>Dashboard
Log in to TiDB Dashboard at
http://1.1.1.1:7301/dashboard/#/signin using the default credentials above. From there you can monitor cluster load, inspect SQL statements, and verify component health.